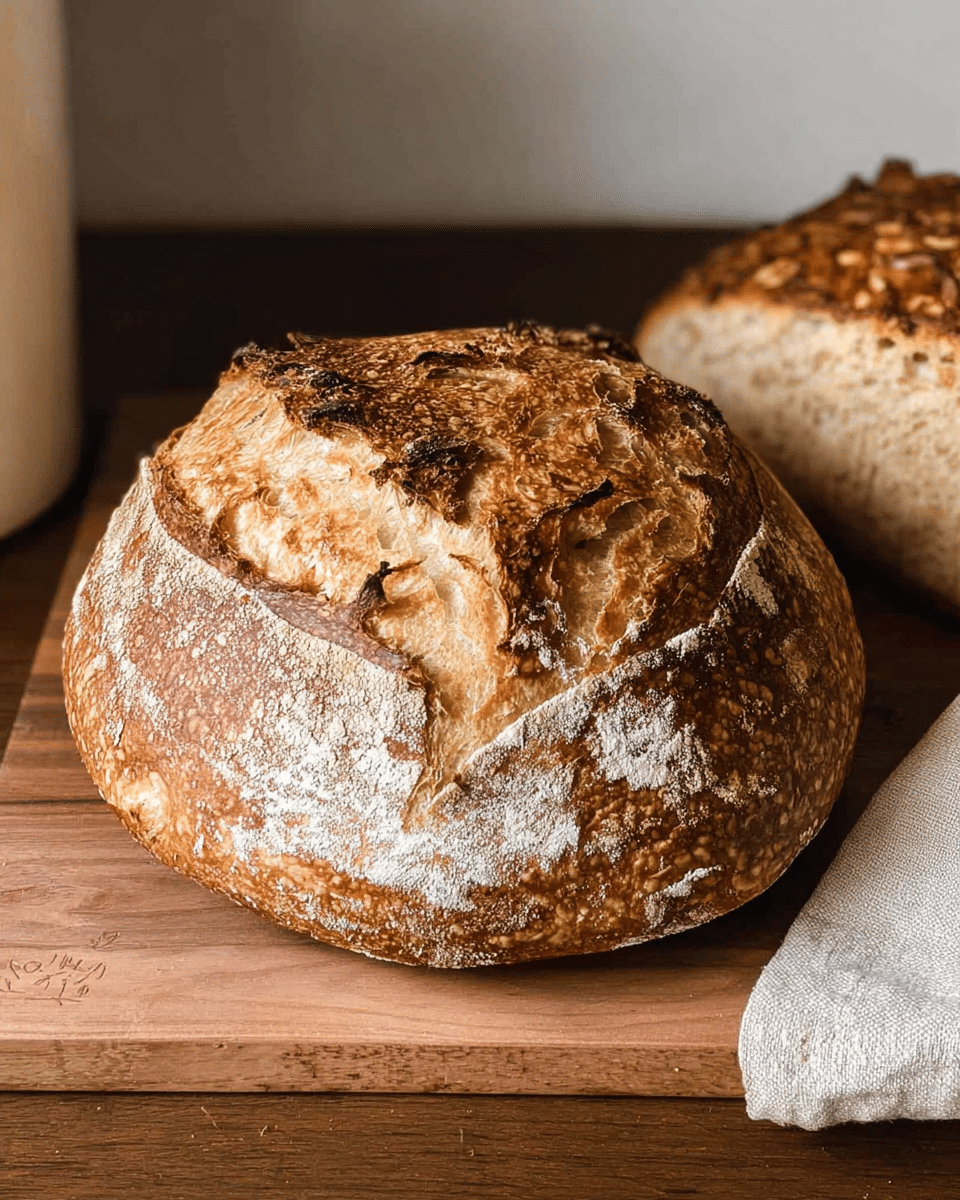
Are you tired of dense, flavorless bread that never quite achieves that perfect crusty exterior? I’ve been there too! This sourdough bread recipe promises artisanal-quality loaves with that signature tangy flavor and beautiful open crumb structure you’d expect from a professional bakery.
Hi, I’m Michael, the heart behind FoodyDish! My sourdough journey began five years ago, and after countless flour-covered countertops and experimental loaves, I’ve perfected the techniques that consistently produce Instagram-worthy sourdough bread at home.
In this comprehensive guide, I’ll walk you through everything from creating your own starter to mastering the perfect bake. We’ll cover starter maintenance, flour selection, proper shaping techniques, and troubleshooting those common sourdough challenges.
Why This Sourdough Bread Recipe Works
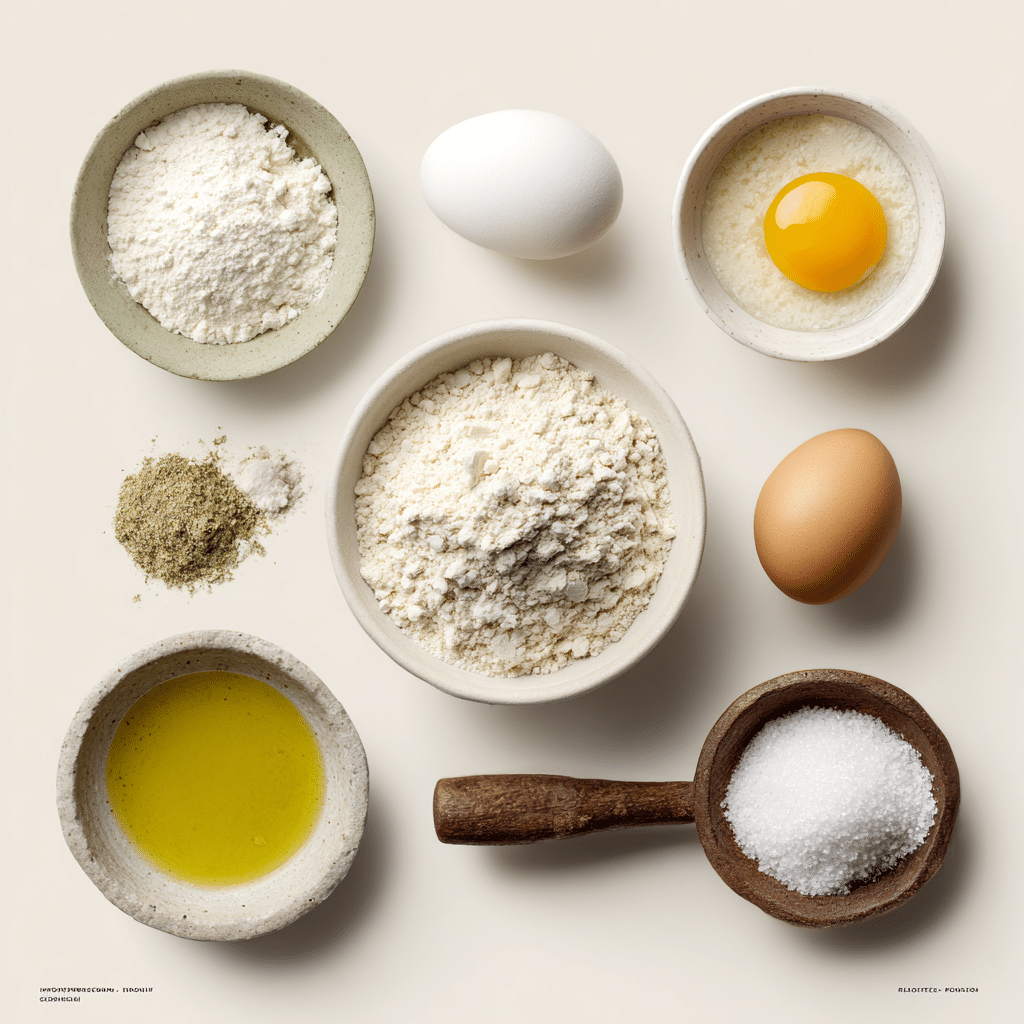
- Uses simple ingredients: just flour, water, salt, and your natural sourdough starter
- Flexible timeline works with busy schedules most steps take just minutes of active time
- Produces consistent results for both beginners and experienced bakers
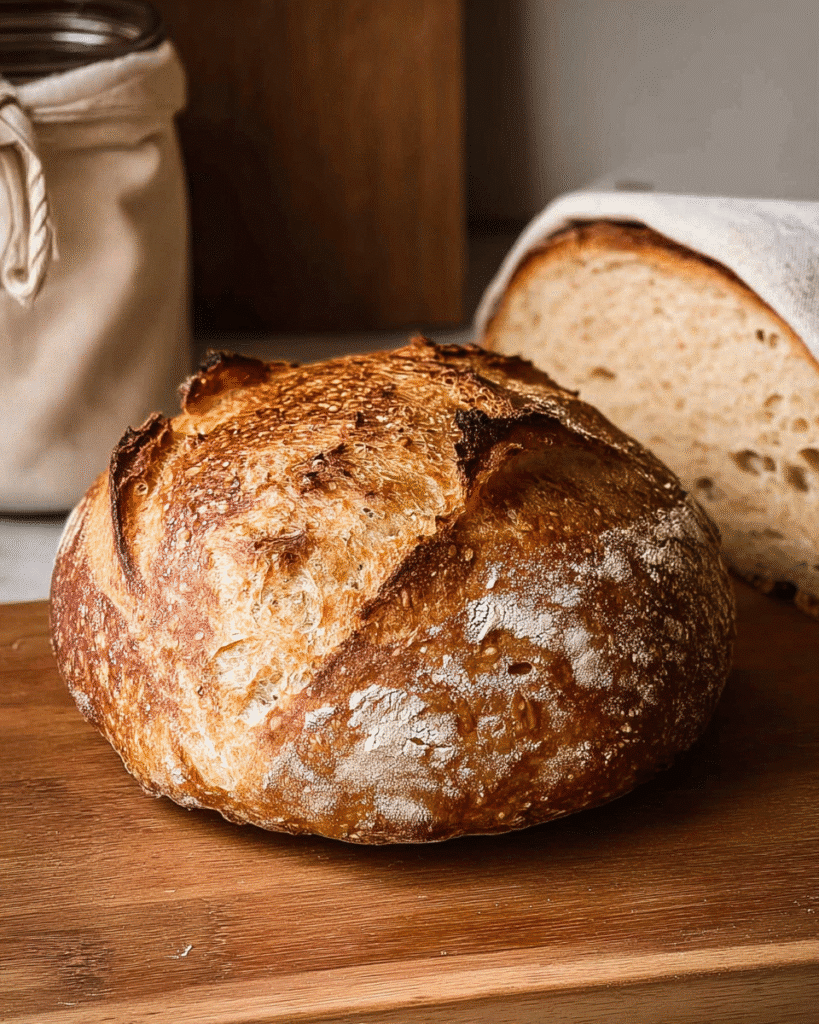
- Creates that perfect balance of tangy flavor and light, airy texture
Choosing the Right Ingredients for Sourdough Bread
Best Flours for Sourdough Success
The foundation of great sourdough bread begins with quality flour. For beginners, I recommend starting with unbleached bread flour, which has a higher protein content (typically 12-14%) than all-purpose flour. This higher protein develops stronger gluten networks, giving your bread that perfect chewy texture and impressive rise.
For more complex flavors, experiment with these flour combinations:
- 80% bread flour + 20% whole wheat for earthy notes
- 90% bread flour + 10% rye for a subtle tanginess
- 100% bread flour for classic sourdough with excellent structure
Sourdough Starter Essentials
Your sourdough starter is a living culture of wild yeasts and beneficial bacteria that will leaven your bread naturally. A mature, active starter should:
- Double in volume within 4-6 hours after feeding
- Have a pleasant, yogurt-like sour smell (not acetone or alcohol)
- Show consistent bubbles throughout
- Float in water when fully active (the “float test”)
Water Quality and Temperature
Water quality significantly impacts fermentation. Use filtered water at room temperature (around 70°F/21°C) to avoid chlorine that can inhibit yeast activity. In cooler kitchens, warm your water slightly (80-85°F/27-29°C) to encourage fermentation.
Sourdough Bread Ingredients & Prep
Sourdough Starter Preparation
Before making bread, your starter needs to be at peak activity:
- Feed your starter 8-12 hours before mixing your dough
- Look for a starter that has doubled and is just beginning to recede
- If your kitchen is cold, create a warm spot using an oven with just the light on
Basic Sourdough Ingredients
- 100g active sourdough starter (100% hydration)
- 500g bread flour
- 375g filtered water
- 10g salt
Equipment Essentials
- Digital kitchen scale (precision is key!)
- Large mixing bowl
- Dough scraper
- Proofing basket or bowl lined with a flour-dusted cloth
- Dutch oven or baking stone
Step-by-Step Sourdough Bread Instructions
Pre-Cooking Sourdough Prep
- Mix 100g active starter with 375g water until dissolved
- Add 500g bread flour and mix until no dry flour remains
- Cover and let rest for 30 minutes (this autolyse period develops gluten)
- Add 10g salt and incorporate by gently pinching and folding dough
- Begin stretch and fold technique (see below)
Sourdough Bread Folding Method
Instead of traditional kneading, sourdough benefits from the stretch and fold technique:
- With wet hands, grab one side of the dough, stretch it up and fold over the center
- Rotate the bowl 90 degrees and repeat
- Continue until all four sides are folded
- Perform this set of folds every 30 minutes for the first 2 hours of bulk fermentation
Sourdough Fermentation Check
Properly fermented dough should:
- Increase in volume by 30-50%
- Show bubbles on the surface and sides
- Feel light and airy with some tension
- Pass the “window pane test” (stretch a small piece thin enough to see light through)
Resting and Shaping Sourdough
- After bulk fermentation (4-6 hours at 75°F/24°C), gently turn dough onto a lightly floured surface
- Pre-shape into a round by pulling edges toward center
- Let rest 20-30 minutes (bench rest)
- Final shape: flip dough, pull sides in, and roll toward you creating surface tension
- Place seam-side up in a floured proofing basket
- Cold proof in refrigerator for 12-24 hours for optimal flavor development
Pro Tips for Perfect Sourdough Bread
Avoiding Common Sourdough Mistakes
- Don’t rush fermentation temperature controls timing, not the clock
- Handle dough gently to preserve air bubbles
- Use just enough flour during shaping to prevent sticking
- Score the dough confidently with a sharp blade for proper expansion
Sourdough Tool Recommendations
- Dutch oven creates perfect steam environment for crusty exterior
- Banneton basket gives beautiful spiral pattern and supports dough shape
- Rice flour in proofing basket prevents sticking better than wheat flour
- Lame or razor blade for precise scoring
Sourdough Storage & Refreshing
- Store cut-side down on cutting board for 1-2 days
- For longer storage, wrap in cloth then paper (avoid plastic which softens crust)
- Refresh stale bread by spritzing with water and heating at 350°F for 5-10 minutes
Looking for more bread inspiration? Check out my collection of artisan bread recipes on Pinterest where I share my latest baking adventures and techniques!
Sourdough Bread Flavor Variations
Savory Sourdough Twists
- Rosemary-Garlic: Add 2 tablespoons fresh rosemary and 4 minced garlic cloves
- Olive-Herb: Incorporate 1 cup chopped Kalamata olives and 1 tablespoon herbs de Provence
- Seeded Crust: Top with sesame, poppy, and sunflower seeds before baking
Sweet Sourdough Options
- Cinnamon-Raisin: Fold in 1/2 cup raisins and 2 tablespoons cinnamon during final shaping
- Cranberry-Walnut: Add 1/3 cup each of dried cranberries and chopped walnuts
- Honey-Oat: Replace 10% of water with honey and add 1/2 cup rolled oats
Global Sourdough Inspirations
| Region | Style | Key Characteristics | Special Ingredients |
|---|---|---|---|
| France | Pain de Campagne | Open crumb, thick crust | 10% whole wheat or rye |
| Italy | Pane Pugliese | Airy texture, high hydration | Durum semolina flour |
| San Francisco | Classic Sourdough | Extra tangy flavor | Long cold fermentation |
| Nordic | Rugbrød | Dense, hearty texture | Rye flour and seeds |
Serving Suggestions for Sourdough Bread
- Slice warm and serve with cultured butter and flaky sea salt
- Make exceptional grilled cheese sandwiches with sharp cheddar
- Use for avocado toast with microgreens and poached eggs
- Create crostini with olive oil, roasted garlic, and fresh herbs
- Serve alongside hearty soups or stews for dipping
Sourdough Bread FAQs
Q: My sourdough isn’t rising properly. What’s wrong?
A: Check your starter activity first it should double within 4-6 hours after feeding. Also consider your ambient temperature; fermentation slows significantly below 70°F/21°C.
Q: Can I use all-purpose flour instead of bread flour?
A: Yes, but expect a slightly less open crumb and reduced rise. All-purpose flour has lower protein content, resulting in weaker gluten development.
Q: How do I know when my sourdough is properly proofed before baking?
A: Gently press the dough with your finger it should slowly spring back but leave a slight impression. If it springs back immediately, it needs more time. If the dent remains, it’s overproofed.
Q: Can I make sourdough bread without a Dutch oven?
A: Absolutely! Use a baking stone or steel with a steam source (a tray of boiling water or ice cubes on the oven floor). The key is creating steam during the first 15-20 minutes of baking.
Conclusion
Creating your own sourdough bread is a rewarding journey that connects you to centuries of baking tradition. With patience and practice, you’ll soon be turning out beautiful artisan loaves that rival any bakery. Remember that each loaf is a learning experience, and even “imperfect” sourdough still makes delicious toast!
I’d love to see your sourdough creations! Join thousands of home bakers who have mastered this technique and share your results.
Print
Sourdough Bread : Secrets to Perfect Homemade Loaves
- Total Time: 13 hrs
- Yield: 1 loaf 1x
Description
A rustic artisan-style Sourdough Bread with a crisp golden crust and soft, chewy interior naturally leavened using an active sourdough starter for that perfect tang and texture.
Ingredients
100g active sourdough starter (100% hydration)
350g warm water
500g bread flour
10g salt
Instructions
1. In a large bowl, mix starter and warm water until mostly dissolved.
2. Add flour and mix until a shaggy dough forms. Cover and rest for 30 minutes (autolyse).
3. Add salt and gently knead or pinch into the dough until incorporated.
4. Perform 3–4 sets of stretch-and-folds every 30 minutes over the next 2 hours.
5. Cover and let the dough rise at room temperature until it has increased by about 50%, roughly 4–6 hours depending on room temperature.
6. Shape the dough into a round or oval loaf and place seam-side up in a floured banneton or towel-lined bowl.
7. Cover and refrigerate overnight (8–12 hours) for slow fermentation and flavor development.
8. Preheat your oven to 475°F (245°C) with a Dutch oven inside for at least 30 minutes.
9. Carefully transfer dough onto parchment paper, score the top with a sharp blade, and place into the hot Dutch oven.
10. Bake covered for 20 minutes, then uncover and bake an additional 20–25 minutes until golden and crusty.
11. Cool on a wire rack for at least 1 hour before slicing.
Notes
For a more open crumb, use slightly higher hydration (up to 375g water).
You can replace up to 20% of the bread flour with whole wheat for extra flavor.
Store wrapped in a tea towel or bread bag for up to 3 days, or freeze slices for longer storage.
For extra-crispy crust, reheat baked loaf in a 400°F oven for 10 minutes before serving.
- Prep Time: 30 mins (plus 12–18 hrs fermentation)
- Cook Time: 45 mins
- Category: Bread
- Method: Baked
- Cuisine: European
Nutrition
- Serving Size: 1 slice
- Calories: 190
- Sugar: 0g
- Sodium: 220mg
- Fat: 1g
- Saturated Fat: 0g
- Unsaturated Fat: 1g
- Trans Fat: 0g
- Carbohydrates: 40g
- Fiber: 2g
- Protein: 6g
- Cholesterol: 0mg
Keywords: sourdough bread, artisan loaf, natural leaven, homemade bread, crusty sourdough